-
1317 Edgewater Dr #4250 Orlando, FL 32804
-
info@geekoro.com
- Connect With Us

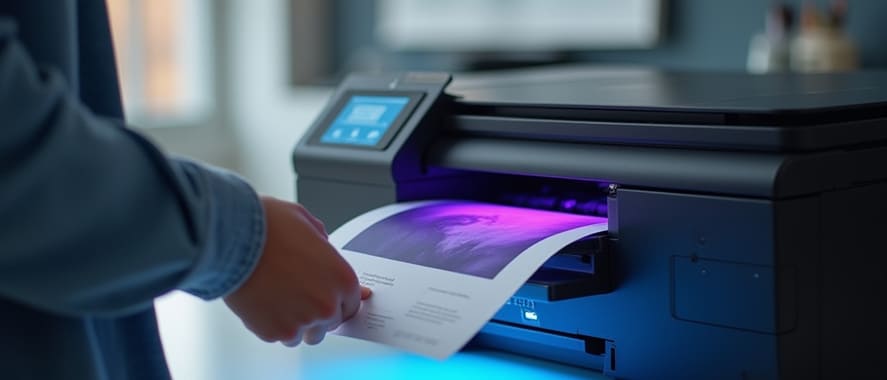
Ever hit "Print" and find the colors on paper look nothing like they do on your screen? Maybe the blue looks purple, or everything seems faded or too dark. Don’t worry—it’s a common issue, and you don’t need to be an expert to fix it.
Let’s walk through simple, DIY steps to help you get accurate, vibrant print colors again.
Here are some of the usual culprits behind incorrect or strange-looking colors:
Running low on one color can throw off the whole print.
Ink might not be flowing evenly due to blockages.
Using plain paper settings for photo paper can affect output.
Software settings or printer drivers may override natural tones.
An old driver might not handle color management correctly.
Let’s go step-by-step and fix the issue:
1. Check Ink Levels First: Go to your printer’s display or settings on your computer and check ink levels. Replace or refill any cartridge that’s running low or dried up—even if it's not the color you're printing with, printers blend colors from multiple cartridges.
2. Run a Nozzle Check & Cleaning Cycle: Most printers have a built-in maintenance feature. Access the printer settings, run a nozzle check, and follow it up with a printhead cleaning if needed. This clears clogged nozzles and restores even color flow.
3. Use the Right Paper Setting: Make sure your printer is set to match the type of paper you’re using. For example, if you're using glossy photo paper but your settings are on plain paper, the colors won’t print correctly.
4. Check Color/Print Settings: In the print dialog box (before you click “Print”), look for options like:
Print Quality: Try “High” or “Best” for more accurate results.
Color Correction: Choose “Printer Managed” or “Automatic” if available.
Avoid any extreme settings like grayscale or economy mode unless you intend to use them.
5. Update or Reinstall the Printer Driver: If your driver is outdated or buggy, it may send the wrong color data to the printer. Go into your device settings, uninstall the current driver, and reinstall the latest version for your printer model.
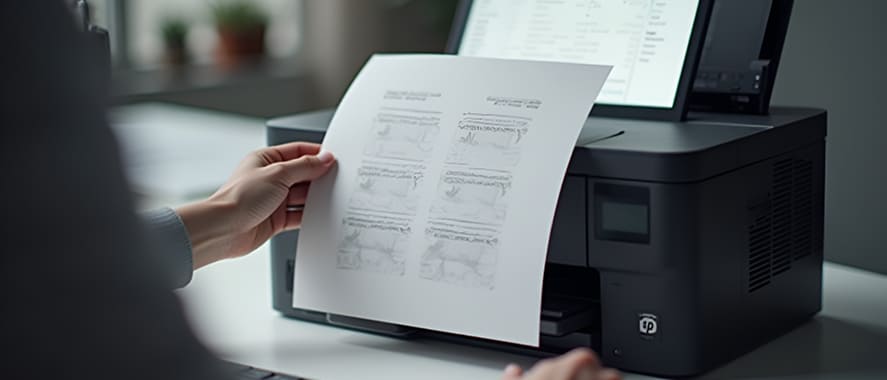
6. Do a Test Print: Once you’ve made adjustments, print a simple image or a color test page. Compare it to what you see on-screen. If it looks better, you’re on the right track!
Getting the colors just right doesn’t have to be complicated. With a few simple checks—like ink levels, paper settings, and cleaning your printhead—you can bring back accurate, vibrant prints.
Still having color issues? Browse more guides here on Geek Oro and take control of your printer, one smart step at a time.